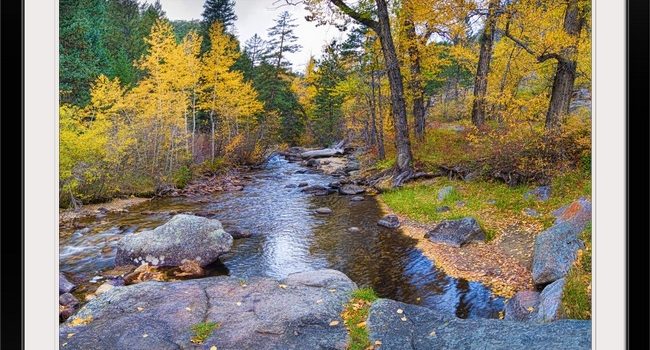
Special place in the woods print to hang out and take it all in with a beautiful creek and autumn colors. A great nature addition to any decor
The post Special Place In The Woods Print appeared first on...
Special place in the woods print to hang out and take it all in with a beautiful creek and autumn colors. A great nature addition to any decor
The post Special Place In The Woods Print appeared first on...


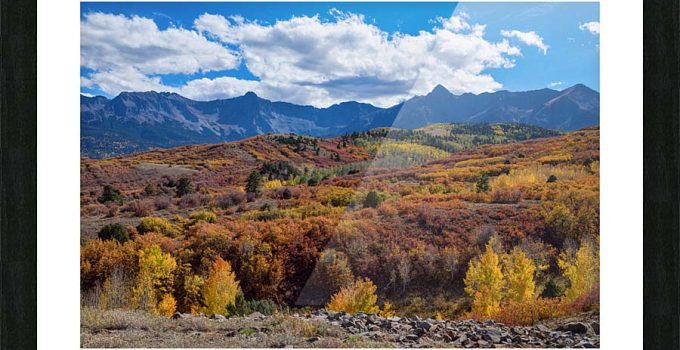
A beautiful Colorado Color Lollapalooza of Dallas Peak near Noel. The landscape comes alive with color in the autumn season here.
The post Colorado Color Lollapalooza Art Print appeared first on Colorado Nature Landscape Art Prints For Sale.
...
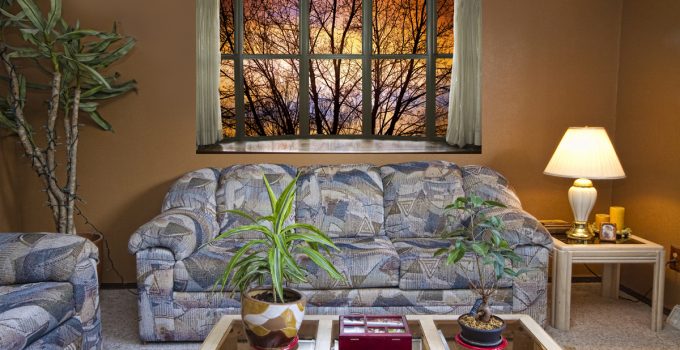
Add a little sunshine to your decor. Brighten your day, every day. Sunshine On An Autumn Day fine art print and murals.
The post Sunshine On An Autumn Day appeared first on Colorado Nature Landscape Art Prints...
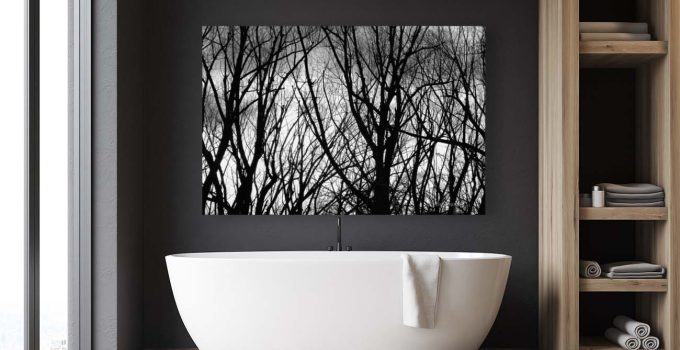
lack and white abstract fine art nature landscape photography print available as a fine art print rolled or custom framed, beautiful metal prints, awesome acrylic prints, canvas wraps, splits and murals.
The post Tree Branches Into The Night appeared...
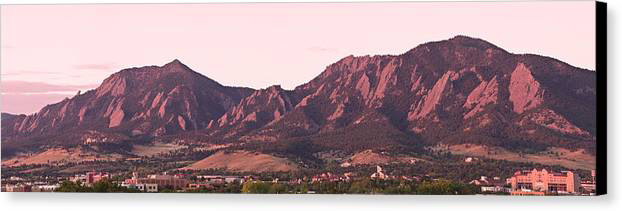
Buy this beautiful Boulder Colorado Flatirons 1st light panorama artwork as a 20" x 60" ready to hang - hard face - sealed back - canvas art print. On Sale for $225.00 with FREE Shipping. (USA Only)
The post...