Wiring and Ceiling Foam Insulation – Cargo Trailer Camper Conversion on a Budget
Continuing on with our 6×14 Cargo Trailer Camper Conversion. Wiring up the 110ac and 12v dc then insulating the ceiling with foam board is done. Had a real duh moment with the wiring. So much thought and planning goes into these conversion and takes up all my brain power, not that there is a lot of it. Anyway, was thinking just wire the whole trailer from the center on the ceiling. One 15 amp for refrigerator and microwave. ( when boondocking on 12v and solar, refrigerator with be cooled like and ice box refrigerator with blocks of ice)
20amp in the kitchen because it may get a heater or even AC unit plugged into it down the road. A propane heater buddy will be used when on 12v with no shore power. ( For cooling there is a fantastic fan vent on 12V)
Here is a vBlog video update.
One more 15amp for three more plugs on GFCI. Total of 5) 110AC plugs and 4) 12v plugs with two USB ports and one Cigarette lighter ports, plus two USB ports on controller. 12v will run water, radio, fan, lights and all DC plugs. This is a must have for charging photography camera batteries and such. Most of the time will be on 12v and solar. All of the electronics work on 12v as well as 110ac.
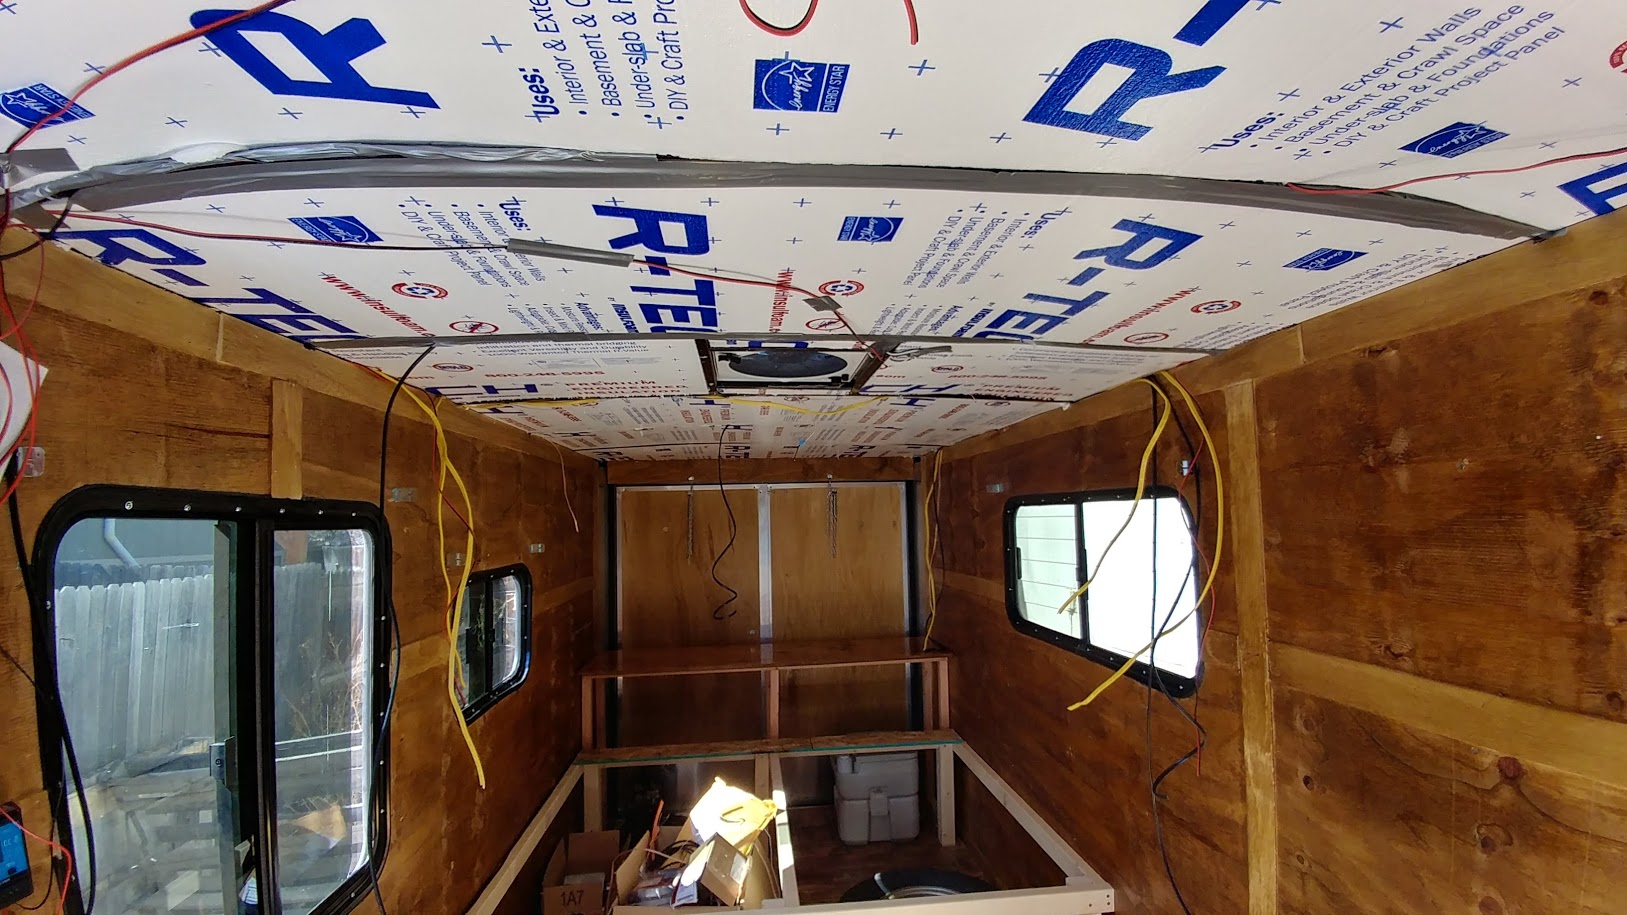
After I got everything in place it hit me about summer heat and the roof metal getting hot. One of the reasons I wanted a white trailer as they tend to stay a little cooler according to research. There is a paint you can put on the roof that helps as well.
There is a little space between the ceiling bars and metal roof in the center where they put wood down to give a little arch. So that is where I went with the wire and ended up changing it all out so nothing touches the roof now. The 12v wire is very easy to work with. 12 gauge is what I used on the 110ac side. Not as easy to work with but not too bad.
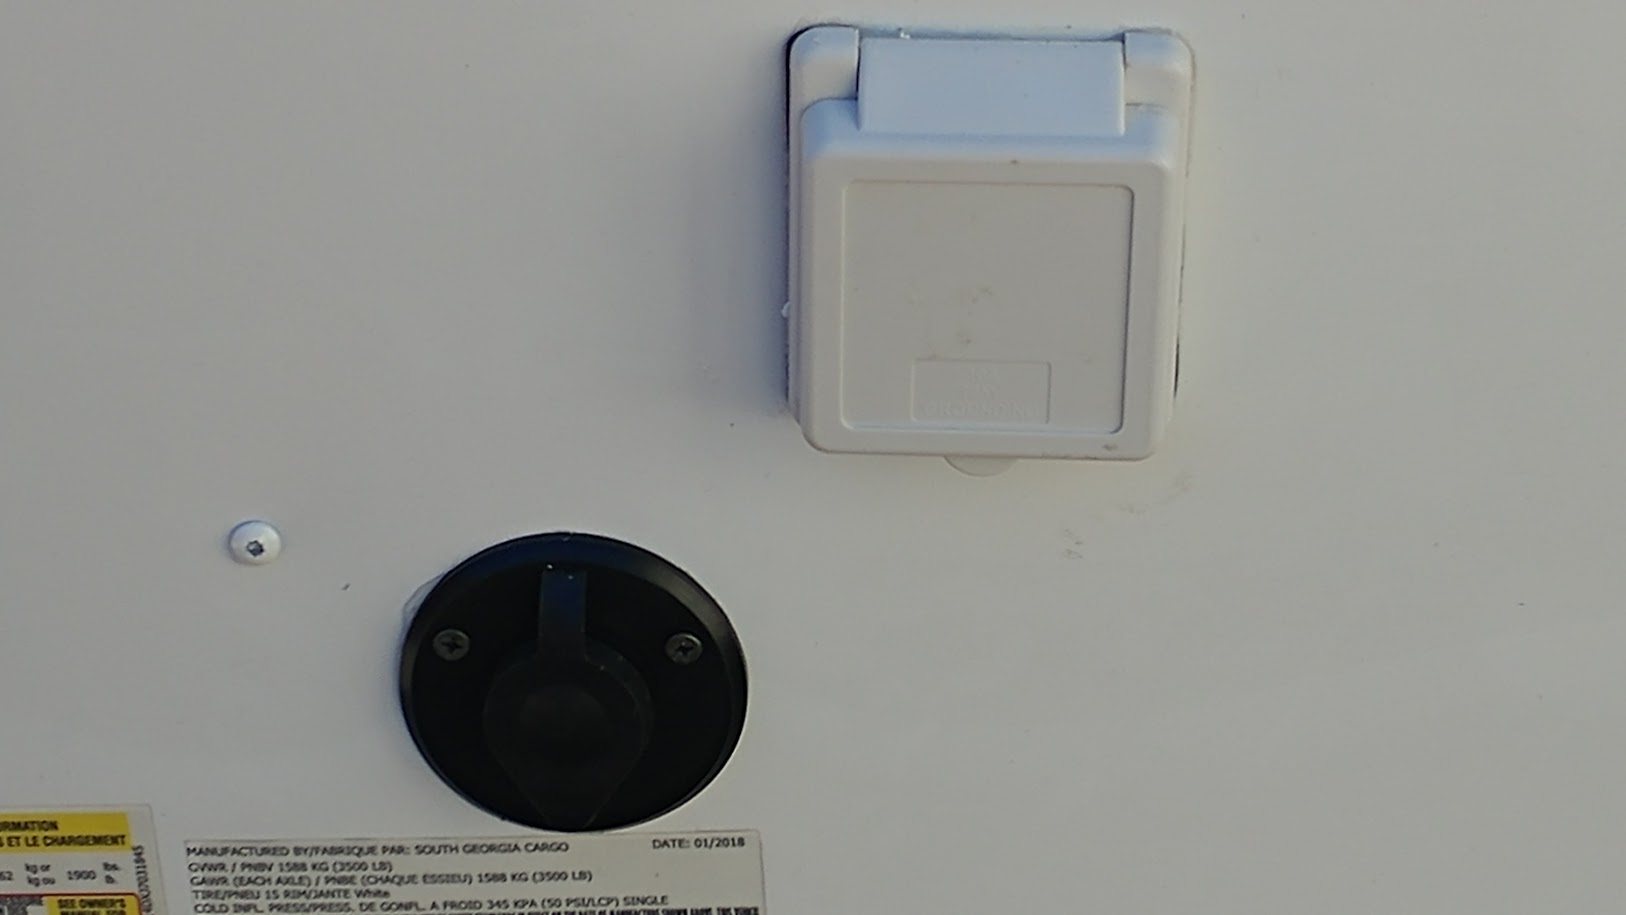
One of my biggest dilemmas has been finding the right holesaws for some of the plugs. The 30amp worked well with a 3″ holesaw. The satellite cable was a simple drill bit but the solar plug I am still having trouble finding the right size. Home depot gave me a 3/4 inch bit but it would not even fit in any of my drills. So back to the drawing board and YouTube videos.
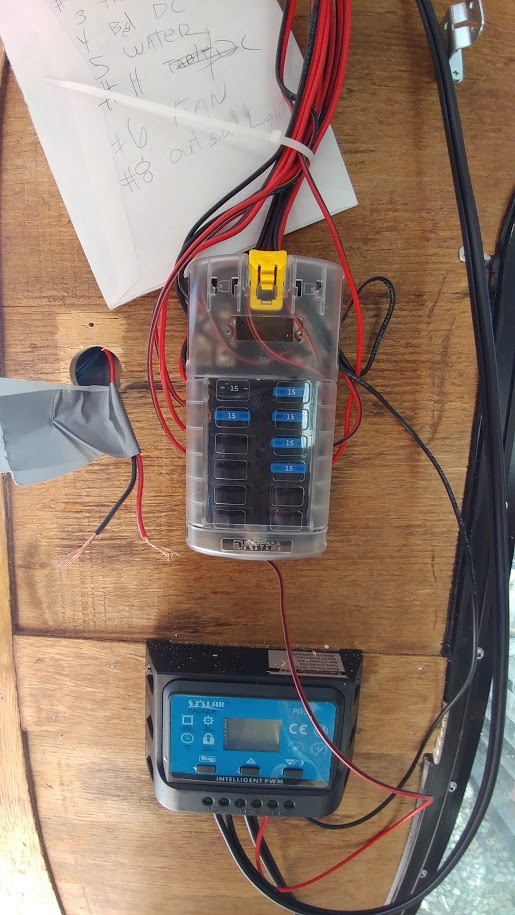
Above is the controller and 12v panel. This is still rough and will be covered up with a wood pallet panel and little shelves to put keys, phones and such. There are two USB ports on the bottom of the controller. This will be mounted on the outside of the pallet wood and the 12v hidden with access.
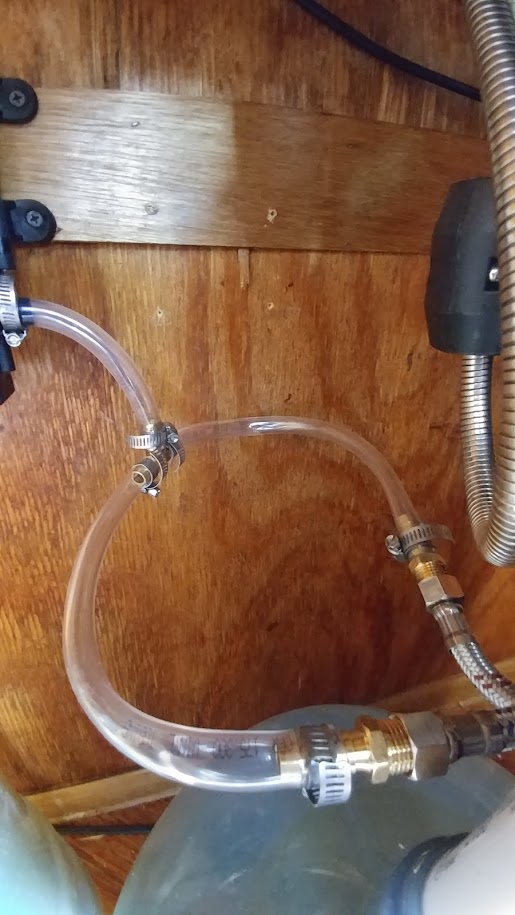
Another dilemma was finding a flex hose to fit under sink drain from 1 1/2 into water cooler bottle. Turns out I found this simple baffle solution at Lowes. Fits perfect and is very sturdy. The baffles expand and contract as well as bend.
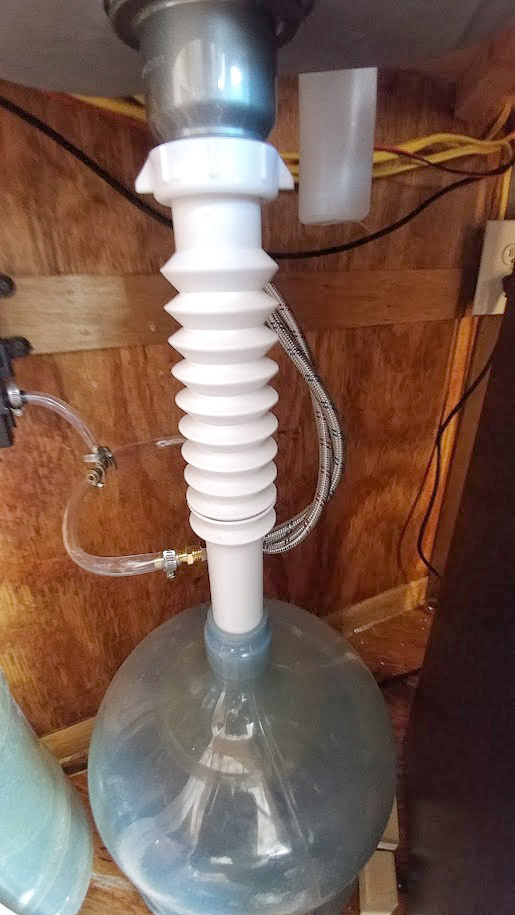
Check out my flux capacitor, the other challenge was finding the right fittings to go from sink facet to 3/4 tubes. Wanted to do a tee into the hot and cold.
Next is clear coating and putting the birch on the ceiling. Still looking for the right holesaw for puck lights. Says 56mm but could not find any at Lowes or Depot. If you have any suggestions please leave it in the comments below.
Things are moving along. Check out the video update above. Thanks for checking in.
DISCLOSURE:
This post may contains affiliate links, which means that if you click a product link and buy anything from the merchant, we will receive a small commission fee. The price you pay remains the same, affiliate link or not. Thank you!

Bo is a professional photographer of over 30 years experience and his work has been published on television, magazines and newspapers worldwide. Also a 30 year veteran of storm chasing specializing in lightning thunderstorms.
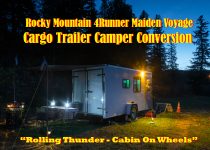
4Runner Pulling Cargo Trailer Camper Conversion Rocky Mountain Maiden Voyage

Power Pack Jump Starter + 4 Vital Emergency Items For Your Car
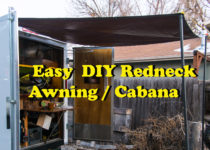
DIY Redneck Camper Awnings and Cabana
3 Comments
Add a Comment
You must be logged in to post a comment.
Hi Bo,
I am so glad to have stumbled upon your channel on YouTube. I have been planning a similar project, creating a camper out of a cargo trailer. You videos have been very helpful! I like your design and rustic approach.
Another thing we share in common is that I am a photographer…here in Chesapeake, Virginia. I have been at it for over 35 years, and am looking forward to some travel time.
I love your artwork, and thanks again for your videos! I will let you know when I get started.
Jim Knox
Thanks Jim! Shoot me a link when you start posting! Would love to follow along.